Powered by Blogger.

Pages

  • Home
  • Makeup
  • Hair
  • Lifestyle
  • Reviews
  • DIY
  • Contact Me
Facebook Instagram Twitter Pinterest Tumblr

Wrens World


Before we even get started, I am not a certified cosmetologist or hair scientist, just a girl in cosmetology school. I started back in mid January and we recently learned how to shampoo the hair and the science behind it which is what I am going to share with you. This is how shampooing and conditioning should be done.

First, the steps!

1.) Dampen the hair with warm water
2.) Take a small amount of shampoo and apply it near the hairline and work it throughout the rest of your hair. Focus on really massaging it into your scalp to remove the sebum(oil) buildup for a good cleaning.
3.) Rinse out the shampoo.
4.) Repeat steps 2-3.
5.) Apply a small amount of conditioner to the ends of your hair and run whatever may be left through the rest of your hair. 
6.) Rinse out the conditioner in cool water.
7.) And you're done!

Next, the science!

1.) You want the hair to be wet so that you can use less product and to help it glide through the hair with ease and to help open up the cuticle. Use warm water to open the hair cuticle so that the shampoo can penetrate the hair to remove dirt, oils, and product buildup.
2.) When you apply shampoo to the hair, it penetrates into the hair and makes dirt, oils, and product build up to cling together in little balls.
3.) Rinsing out the shampoo rinses out the dirt and oil that balled up from the shampooing process.
4.) You want to repeat steps 2-3 to ensure you have removed all of the gunk in your hair since most of the time the first shampoo doesn't get it all. The second shampoo should cause a big lather, meaning the shampoo bubbles up a lot. Then you rinse the shampoo, and any remaining dirt or oil, out of your hair.
5.) As you hopefully remember, when we first started the cuticle layer of the hair was raised in order for the shampoo to penetrate into the hair and remove dirt and oil. Now we need to smooth done the cuticle, closing the hair shaft. To do so we use conditioner. This is, to me, the most important part of cleaning your hair. If you don't use conditioner, your cuticle remains up causing frizzy, dry hair. It not only smooth down the hair but it also adds shine. Plus, if your cuticle is down your hair will also feel much softer. However, if you apply it scalp to ends it can make your clean hair look oily and dirty after you've just washed it. That's why conditioner should be focused on the ends and lightly applied the closer you get to the scalp.
6.) Rinsing in cool water will help seal down the cuticle, helping the hair to be even smoother and softer.
7.) All Done!

Like I said earlier, different things work for different people. However, this is how hair washing should be done. I will have another post with my opinion on some of these other ways I've been seeing recently but if you want your hair to get cleaned well and be soft and silky, I suggest trying this method. There are many different hair types and so many different shampoos and conditioners so depending on yours I also suggest trying out some different ones since each one will do something different to your hair. If you have any questions or requests let me know and I'll do my best!


xoxo,
Wren
Share
Tweet
Pin
Share
No comments


All About My Hair

Today I'm going to be talking all about my hair. Everything
I've done to it (within the past year or so) and tell you how 
I take care of it to keep it as healthy as I possibly can! 

Dyeing History

The first time I ever dyed my hair was sometime late November to
early December of 2013. I decided to dye it a burgundy red. 


At the time I loved it but now I regret it so much! It was so beautiful and 
I liked that it was still a dark color but was just more fun. I think
it looked pretty good on me and that most people really liked it. In 
fact, after I dyed my hair that color, I noticed a bunch of other girls
in my school were dyeing their hair the exact same color. Now,
I'm not saying that I'm a "trend setter" or anything, I just thought it
was a bit weird and ironic. The reason I regret doing it is that it's
so difficult to get rid of and keep up with. You have to dye it every
couple weeks, otherwise your roots will look terrible. Then, once
you're over the whole burgundy craze and you want to get rid of it,
it is so difficult! I first tried dyeing it a brown but it stayed red. Then
I tried to bleach it away, didn't work. And finally I tried Color Oops.

This is what it looked like after the Color Oops:

If you're trying to get rid of red hair but nothing seems to work,
I would HIGHLY suggest trying Color Oops. I got rid of all most
ALL of the red. Some was left behind, but it wasn't a lot so I just
left it. If I wanted it gone fully, I could have done it a second time
and it probably would have taken it all away and left my hair blonde.
One thing I'd like to say though, is if you only lightened your hair,
it won't work on you. Bleaching your hair changes the actual hair color
where as dyeing your hair darker or to a red or something like that, just
covers your hair and is why it slowly fades in intensity over time.
Also, Color Oops is for semi-permanent or permanent hair dyes.
If you used a temporary hair dye it tells you that it won't work.
If you want to know more about it you can look it up.

How it is Currently Cut

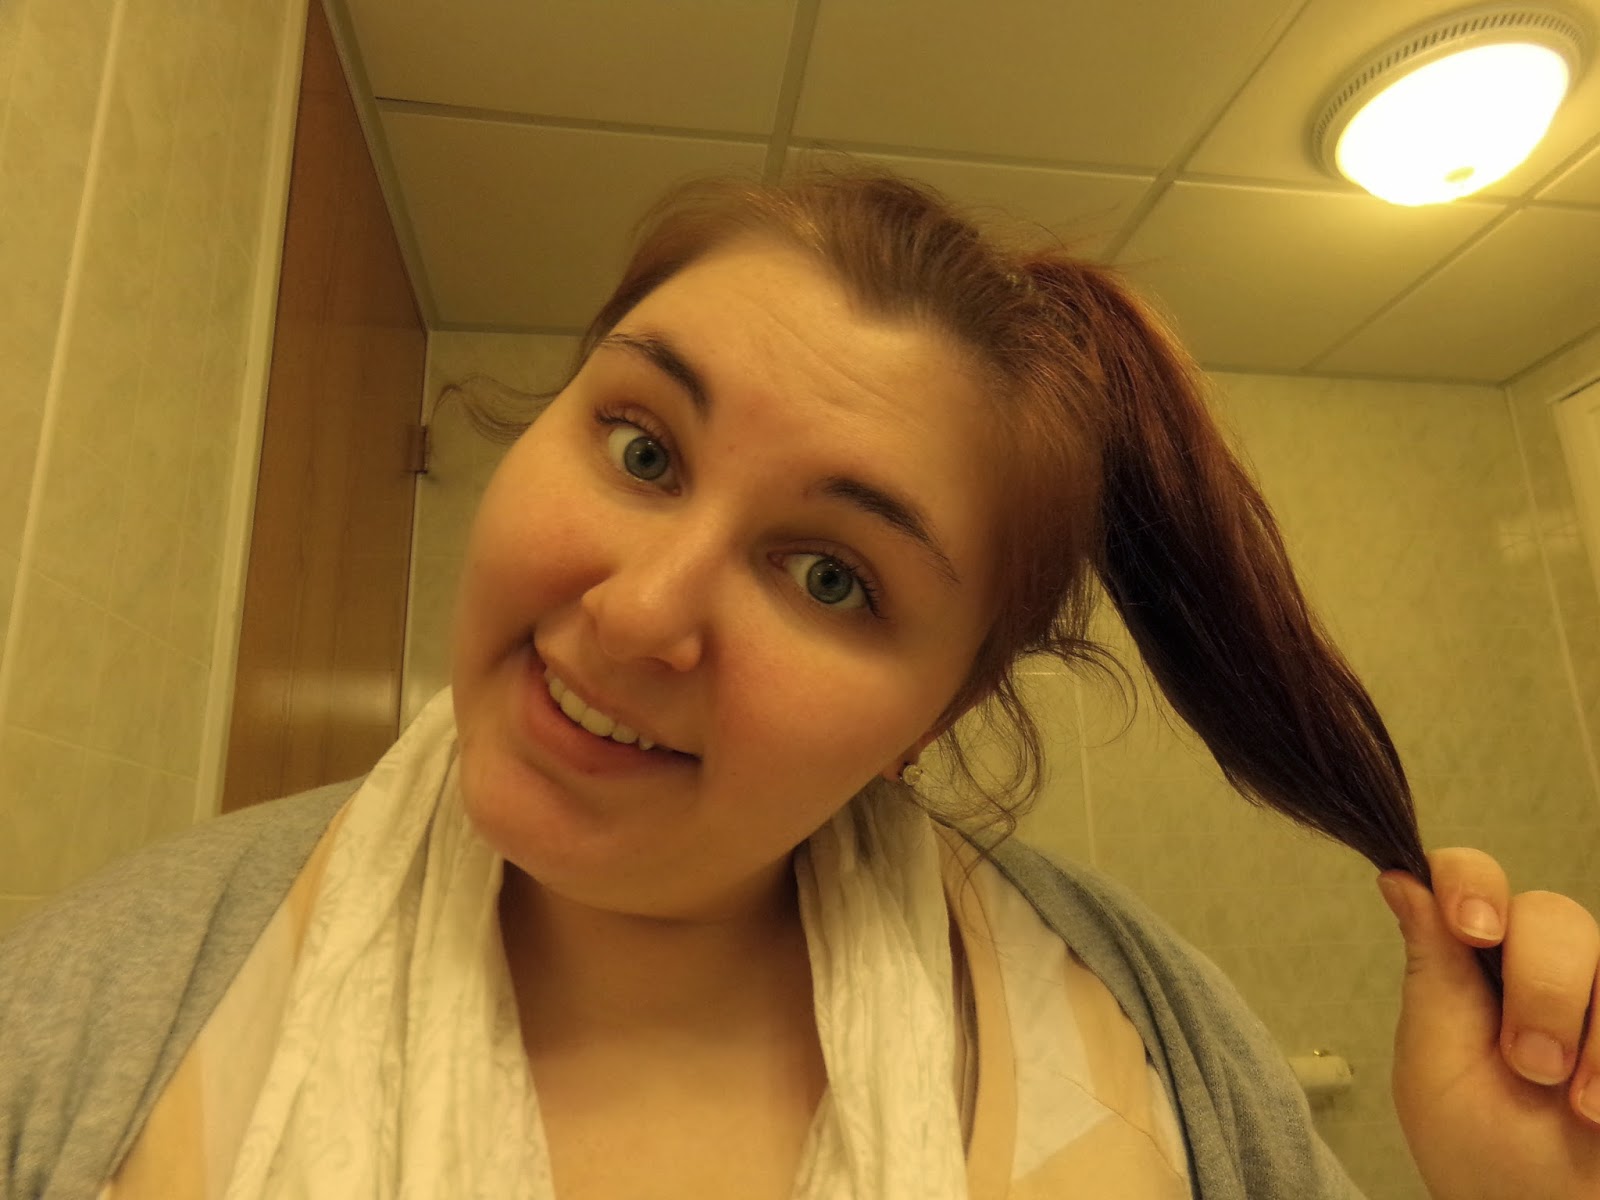
If you like my current hair cut (the first picture in this post)
and would like something similar, this is what I asked for:
something shot but still able to be pulled up, layers, have the
hair around my face cut to frame it, and to have the layers
flow together so it's not obvious where each layer ends. 

Damage I've Done

So, I've dyed it red and then re-dyed it red once or twice.
Then I bleached it twice. The first time didn't work so I did it
again... still didn't work. Then I did color oops once, had some 
left over and did it a little more a few days later. But the thing
that has damaged my hair the most is my job. I'm a lifeguard and
swim instructor so I'm in the chlorinated pool all the time. After
dyeing your hair, most people say that their hair is very dry, brittle,
crunchy, etc. But for me it felt just a tiny bit more dry than usual.
As for the chlorine, that's what has ruined my hair. If you're a 
swimmer or go to the pool a lot in the summer, you'll understand.
The chlorine dry's out my hair so much, builds up on my hair quite
quickly, makes my hair more frizzy, and breaks easily. 

What I do to Protect it

To protect my hair from the chlorine, I try to get my hair wet before
I get in the pool but usually I forget to or am in a rush and just don't.
You can also put conditioner in your hair before you get into the pool
and it will help block the chlorine from absorbing into your hair.

Healing After the Damage

After the damage is already done, there isn't much that can be done.
But to help it from getting worse, I wash my hair out after each time
I'm in the pool. I use Aussie's Miraculously Smooth line at work.


I work Monday-Friday and shampoo and condition my hair
two times a day. Once before I leave for my lunch break and
again at the end of the day before I go home. On the weekends
I give my hair a break and wash it either Saturday night or
Sunday morning. Using Tresemme Anti-Breakage line.


To help my hair further I use two leave in products.
The first is Garnier Fructis Sleek & Shine leave in conditioner
and the second one is from the same line but is their Moroccan
Argon Oil. I use both together after I shower and my hair has
dried a little but it still wet. Then I use the oil again at night by
itself. I use a spray bottle to get my hair wet and then put
a little bit of the oil on the ends of my hair.


In Conclusion

I sometimes wish I had never dyed my hair, but I'm glad I did.
I probably won't ever go red again and have learned a lot from
all of the things I've done to my hair. One, don't be cheap when
it comes to hair dye. Two, if you're doing it yourself look up how
to do it or read up on some helpful tips and tricks. Three, don't
be afraid to ask for help. Four, make sure you're absolutely sure
it's what YOU want and not what others think you should do. 
It's your hair and you're the one who has to live with it. Also,
if something does go wrong and your hair turns orange, go to
a professional after you've done everything you can. If you do
go to a professional, make sure you do your research. Ask 
around to see it he or she is any good, how long they've been
doing hair coloring, etc. And finally, don't worry. It's just hair.
If it turns out bad you can re-dye it or just live with it. You 
never know, something you think is a mistake might turn
out to be something beautiful that you love :)


xoxo,
Wren
Share
Tweet
Pin
Share
No comments

How to Create The "Sock Bun"


I have always loved the look of the "sock bun" but I hated trying to do it since
 I have dark hair and I only have white socks. I knew there were probably
 other ways to do it that didn't require the destruction of a perfectly innocent
 little sock. And then I found it. One of the best hair inventions in
quite some time. I call it, the hair "donut"


Supplies You Will Need:
Bun Maker
2 Hair Ties
Several Bobby Pins
Optional Hair Accessories


Step One:
Take the first hair tie and put your hair up into a ponytail
wherever you want your bun to be


Step Two:
Take you bun maker and pull your ponytail
through the hole in the middle


Step Three:
Spread your hair out so that it is evenly covering the bun
 maker. Then with the hair tie, pull it over the hair to keep
 it in place


Step Four:
Wrap the excess hair around the base of the bun and bobby
pin the hair into place


Step Five:
Add the hair accessories for that added 
cute little touch


And there you have it! Super cute and easy :) I really hope you 
enjoyed this hair tutorial. If you did, please comment down 
bellow what you'd like to see from me next and follow so 
you can see all of my future posts!

xoxo,
Wren
Share
Tweet
Pin
Share
No comments
Older Posts

About Me

About Me
Just your average young adult trying to figure out life while taking all of you on the journey with me.

Followers

Follow With Bloglovin

Follow

Follow Me

  • 190 Subscribers
  • 7000 Followers
  • 95 Followers
  • 98 Followers
  • 15 Followers

Popular Posts

  • Lime Crime Giveaway! (Now Closed)
    a Rafflecopter giveaway Giveaway will close January 1, 2016 at 12am central time Rules: You MUST be 18 years of age or older OR h...
  • Where to get Lime Crime and Jefree Star Cosmetics Discounted?!
    Have you always wanted to try Lime Crime, Jeffree Star Cosmetics, Sugar Pill, Manic Panic, and so many more makeup brands but don't...
  • Dusty Road | Current Go To Makeup Look
    Above is my most recent YouTube video. I show you my most recent go to makeup look. It's super simple, easy, and modera...
  • Au Pairing | Traveling Abroad
    As I said in a couple post previous, I talked about studying abroad and trying to figure out what I want to do with my life. I've...
  • Gallbladder Surgery
    As I have previously mentioned, I took some time away from social media for my personal life but also because of my health. I'...

Blog Archive

  • ▼  2017 (9)
    • ▼  March (9)
      • Lazy Day | What I Ate Wednesday
      • Blog Schedule & Series
      • Future Blog & YouTube Plans
      • Beauty School Drop Out?
      • Gallbladder Surgery
      • Why I Took a Break
      • New Series! What It's Really Like...
      • Where I've Been
      • Rebranding Myself
  • ►  2016 (5)
    • ►  September (1)
    • ►  March (3)
    • ►  January (1)
  • ►  2015 (13)
    • ►  December (1)
    • ►  November (3)
    • ►  October (2)
    • ►  September (6)
    • ►  August (1)
  • ►  2014 (16)
    • ►  November (1)
    • ►  June (1)
    • ►  April (1)
    • ►  March (3)
    • ►  February (10)

Created with by ThemeXpose